Streaming for Dummies: Difference between revisions
No edit summary |
|||
| Line 1: | Line 1: | ||
== The Goal == | == The Goal == | ||
| Line 7: | Line 8: | ||
The general approach here is: | The general approach here is: | ||
* To get started, let's just get this working using a '''laptop and its built-in camera'''. | * To get started, let's just get this working using your '''webcam''' or a '''laptop and its built-in camera'''. | ||
* Host a '''Zoom webinar''' with only you in it. No one else. | * Host a '''Zoom webinar''' with only you in it. No one else. | ||
* '''Multi-stream''' the feed to an arbitrary number of platforms: | * '''Multi-stream''' the feed to an arbitrary number of platforms: | ||
| Line 21: | Line 22: | ||
== Zoom == | == Zoom == | ||
* You'll want to pay the '''Pro Zoom''' for '''$15/month'''. (You need the Pro Plan in order to re-stream to Periscope, Twitch, etc.) | * You'll want to pay the '''Pro Zoom''' for '''$15/month'''. (You need the Pro Plan in order to re-stream to Periscope, Twitch, etc.) | ||
<!-- * Webinar addon price [40 - 6500] $ / month This allows for [1e2-1e4] people --> | <!-- * Webinar addon price [40 - 6500] $ / month This allows for [1e2-1e4] people --> | ||
<!-- * The webinar addon allows for questions, polling, panelists etc. Not sure what your desired format is. Just the Pro Zoom price will be sufficient to stream if you do not care for the webinar features. --> | <!-- * The webinar addon allows for questions, polling, panelists etc. Not sure what your desired format is. Just the Pro Zoom price will be sufficient to stream if you do not care for the webinar features. --> | ||
| Line 34: | Line 34: | ||
<div class="shadow" style="display: inline-block"> | <div class="shadow" style="display: inline-block"> | ||
https://theportal.wiki/images/ | https://theportal.wiki/images/9/94/Pro.png | ||
</div> | </div> | ||
| Line 40: | Line 40: | ||
<div class="shadow" style="display: inline-block"> | <div class="shadow" style="display: inline-block"> | ||
https://theportal.wiki/images/b/ | https://theportal.wiki/images/b/b1/Check2.png | ||
</div> | </div> | ||
| Line 85: | Line 85: | ||
<div class="shadow" style="display: inline-block"> | <div class="shadow" style="display: inline-block"> | ||
https://theportal.wiki/images/1/1c/Meeting_advanced.png | https://theportal.wiki/images/1/1c/Meeting_advanced.png | ||
</div> | |||
<div class="shadow" style="display: inline-block"> | |||
https://theportal.wiki/images/9/91/Settings.png | |||
</div> | </div> | ||
Revision as of 06:46, 24 March 2020
The Goal
Eric asked for a "streaming/multistreaming for dummies" guide, perhaps for Zoom +/- Youtube/Twitch/Periscope.
Introduction
The general approach here is:
- To get started, let's just get this working using your webcam or a laptop and its built-in camera.
- Host a Zoom webinar with only you in it. No one else.
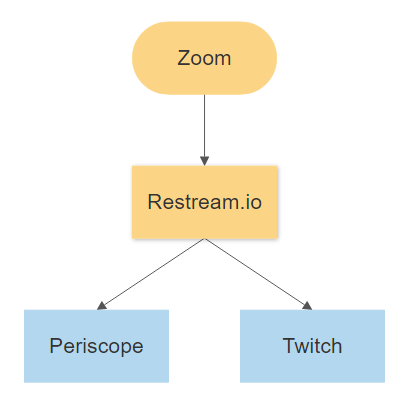
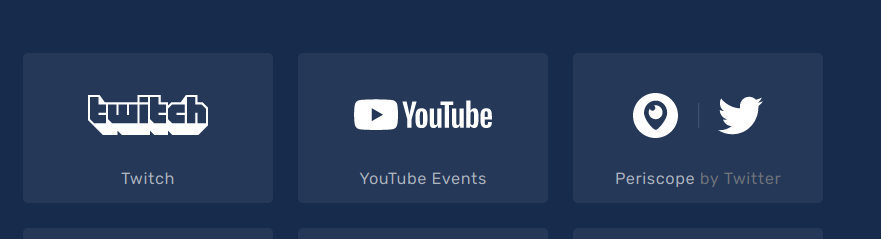
- Multi-stream the feed to an arbitrary number of platforms:
- Periscope
- Twitch
- YouTube
Zoom
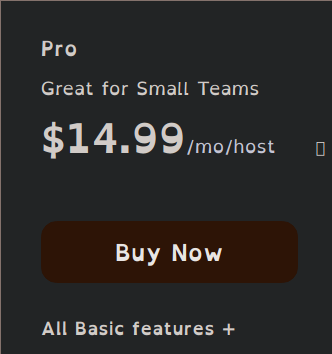
- You'll want to pay the Pro Zoom for $15/month. (You need the Pro Plan in order to re-stream to Periscope, Twitch, etc.)
Make an account at Zoom
Go to plans and pricing and buy the Pro Subscription. https://zoom.us/
- On this page select Billed Monthly or whatever makes sense to you.
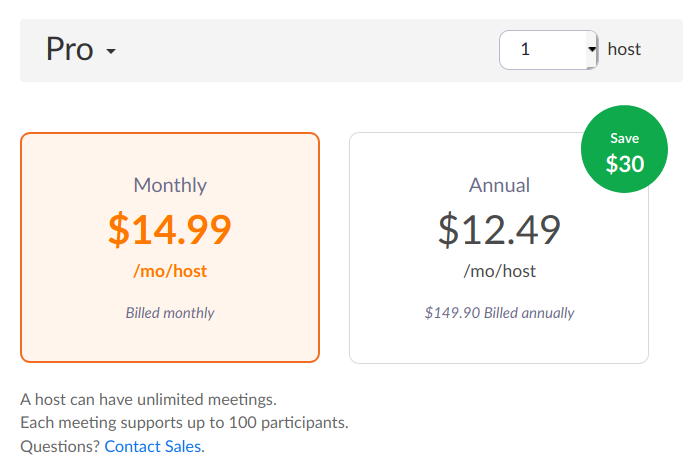
- Your checkout should now look like the image below. (The number of participants isn't really important right now. That's just for if you're going to have guests streamed with you later on.)
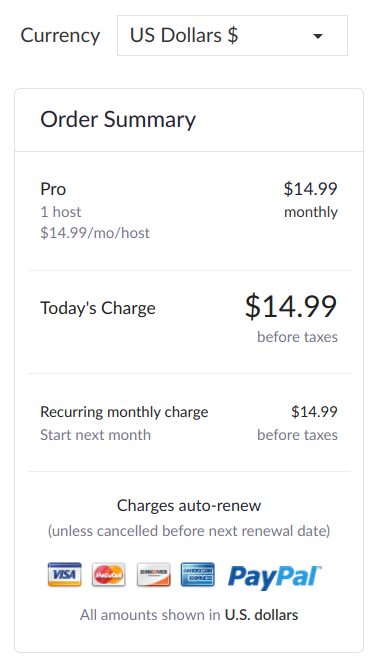
- Proceed to pay.
Restream.io
Restream allows you to send your Zoom meeting to many different streaming endpoints (such as Periscope, Twitch, YouTube).
- Sign up to the service here: https://restream.io/
- For what you're doing, this will be free.
- Copy down the RTMP URL and Key for later.
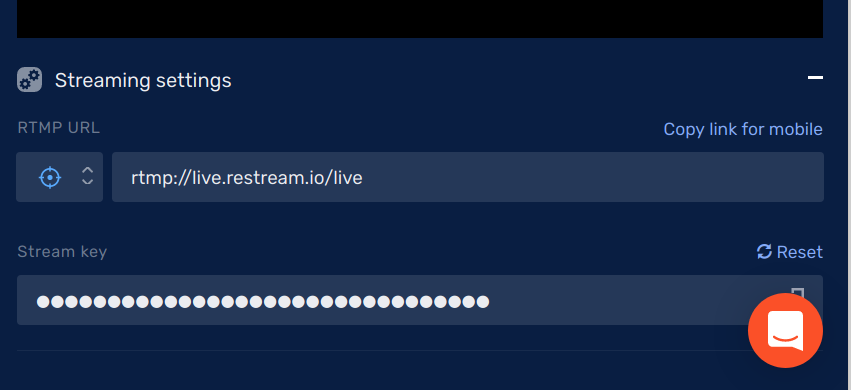
- Once signed up the most important information is in the main dashboard. You will be pointing your Zoom meeting to this endpoint later and it will be re-broadcasted by this service. Once you have noted that down, you must connect your endpoints.
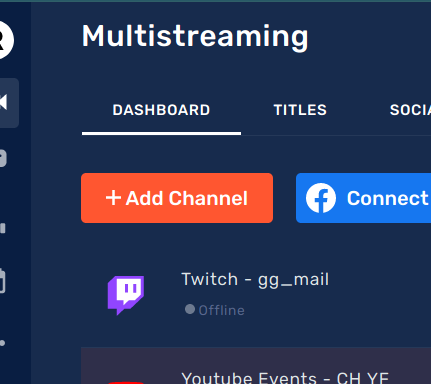
- Click here to add your endpoints and follow the wizard.
Link Restream and Zoom
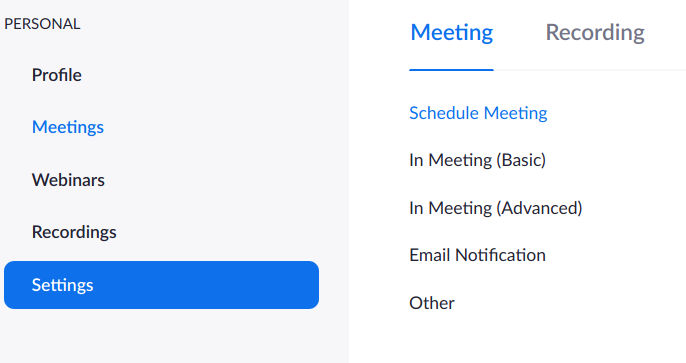
You now have to configure your Zoom settings to allow for custom streaming. Back at Zoom website go to your account settings.
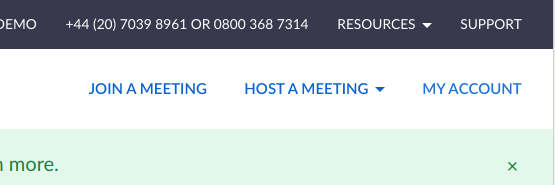
- Click "My Account". Now go to your personal settings and scroll down to ’Allow live streaming meetings".
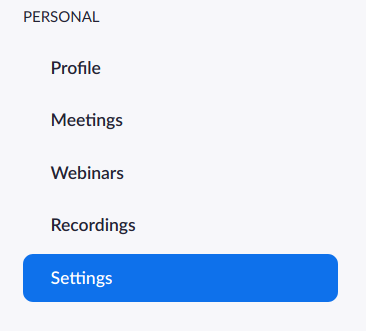
- Go to personal settings.
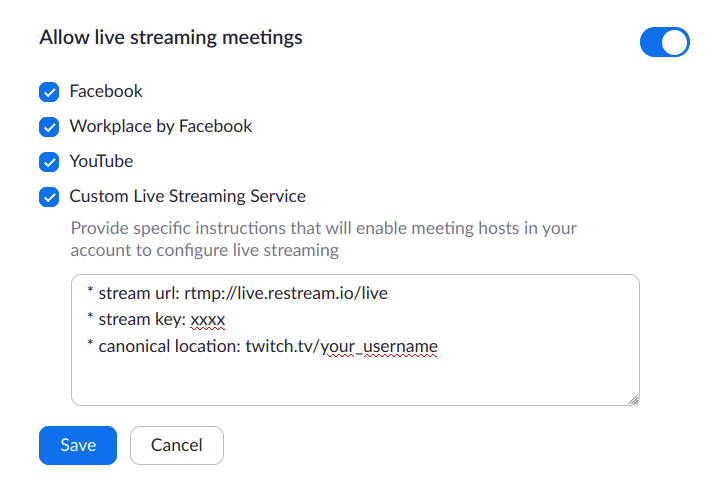
- Enable the streaming option and paste in the information previously written down from the "Restream" dashboard. This is in effect a post it note. When you want to go live, this info box will be displayed so you can configure the livestream quickly.
How to launch an event
You have to configure your speakers and microphone before your first time.
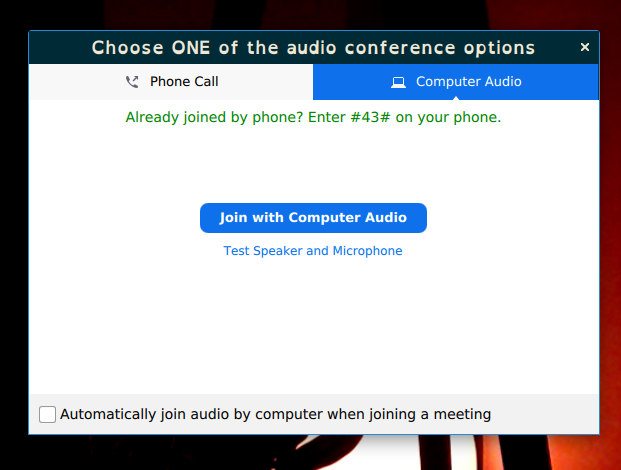
- Click test speakers and microphone to configure.
- Once a meeting is running, you can now choose to go live.
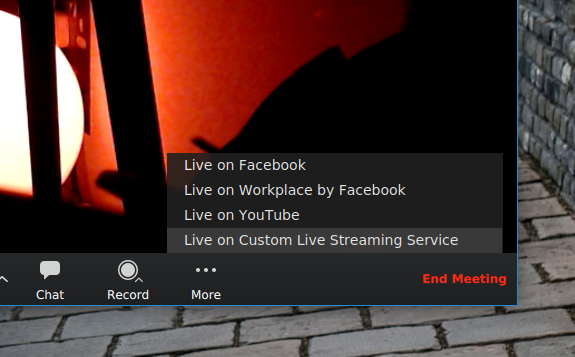
- Click ’More’ -> ’Live on custom. . . ’ to configure livestream in the web-app.
- This will bring up web-app. Fill in the information as is displayed on that page.
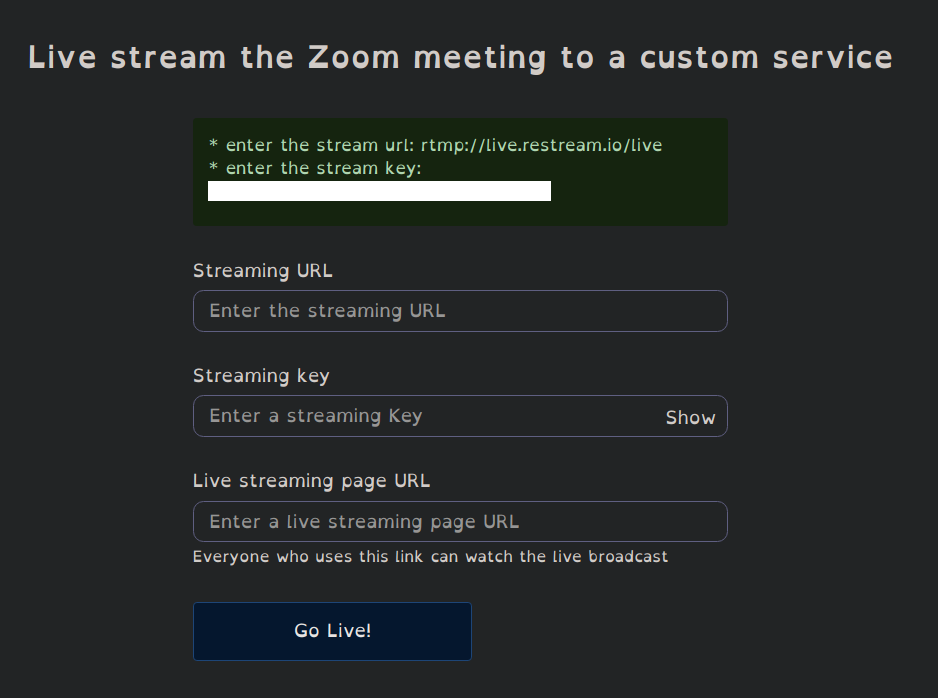
- Enter in the information previously saved and go!
- Your meeting should now be streaming to as many stream endpoints as you configured in Restream. You can check your Restream dashboard to see if everything is working.
Original PDF from Cam
- PDF Instructions for Eric - This is the source document that we used to create this wiki page.